Changing the font size in your WordPress site is something you can do quickly and easily for a small section of text, or something that can take a little more work if you want to do it for a larger section of text.
In this quick tutorial, I’ll show you how to change the font size in your WordPress site.
I’ll show you two quick methods:
- change in an individual block
- adding a CSS class to a block and then styling the class
I’ll also give you an introduction to changing the font size across your site, by editing your stylesheet.
How to Change the Font Size of a Text Block
Let’s start with the quickest method.
When you’re editing text in your WordPress posts, you can choose to make a block of text have a different font size from the other blocks on the page.
This can help to highlight a specific section of your page.
You should use this method with caution: too much will make your site look messy and unprofessional. And if you do it more than once, make sure you use the same size for all the larger or smaller sections of text.
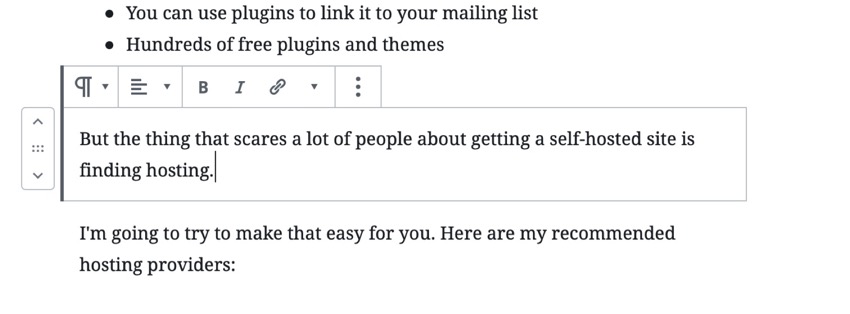
Start by finding the block of text whose size you want to change.

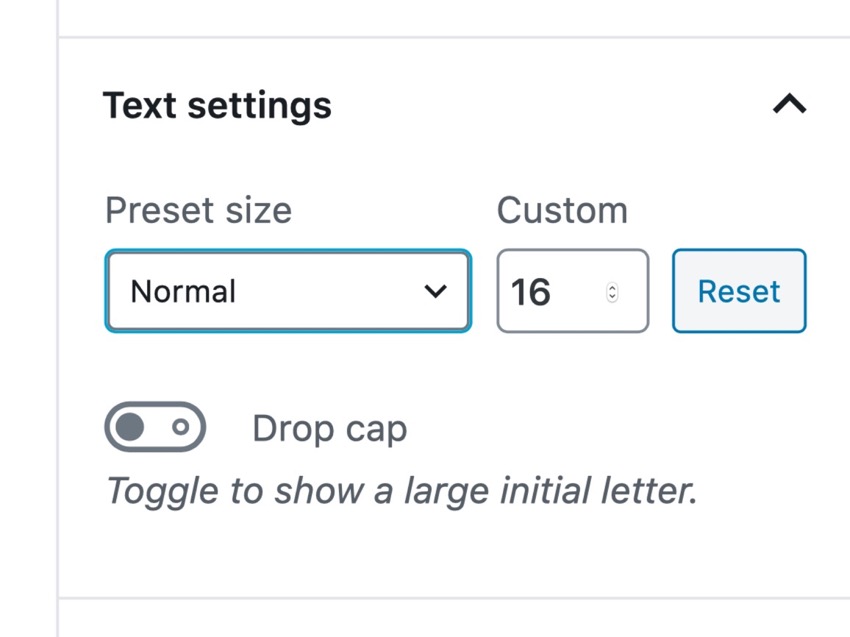
On the right of the screen in the Block pane, open the Text Settings tab.

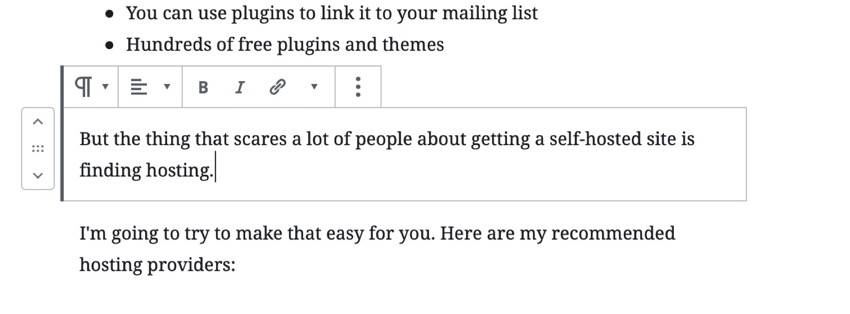
Here you can choose to make your text larger or smaller, or to specify an exact font size for it. I’ve boosted the font size to medium:

You could boost it even more and make it huge, but beware of making your site look messy.
Alternatively, select a specific font size and make sure you use that for all your larger or smaller font blocks across your site.
Finally, click Update to update your post or Publish to publish it. That will save your changes.


