Setting up WordPress multisite for multilingual sites is important for website owners aiming to attract visitors from some different countries or all around the world.
The most popular multilingual sites that need to serve their contents to multilingual visitors are global and international businesses, famous companies and producers, and international magazines and news blogs. These websites usually display options for local visitors to choose their preferred language to read the content.
There are many ways to set up multi-language sites, one of the best ones is to create a WordPress multi-site then set up a multilingual network over them.
In this post, we want to show you the easiest way to use WordPress multisite to create a multilingual network. Before going further and starting the step-by-step tutorial, let’s take a look at what is a WordPress multi-site and what are the advantages of running a multilingual website.
What is a WordPress Multisite?
A WordPress multi-site as its name revealed is an integration of multiple websites in one environment with the same management and admin area.
Actually, by creating a multisite, you can set different domains with different layouts and designs but you are able to share any assets like products, posts, plugins, etc. Between them from one admin panel.
What is a multilingual website?
Multilingual websites are a solution for Providing localized content in your users’ native languages which can help you to better reach your entire audiences and make the visitors feel at home.
The best method for creating a multilingual network is to use WordPress multisite to create your global website. Follow us in this post, to help you easily set up your multilingual website based on WordPress multisite.
Step by step guide for setting up WordPress multisite for going multilingual
By following this guide, you can easily set up WordPress multisite in 5 simple steps.
Step 1: Installing WordPress Multisite
We have completely discussed how to set up and run a multisite on WordPress on “How to manage multiple WooCommerce stores” which is a full guide even for the beginner to start creating a multisite on WordPress.
After installation of multisite, you can choose to add separate website addresses as one of the below options:
- Domains.
- Sub-domains.
- Sub directory.
There are some tips that you need to consider when deciding how to create different web addresses for setting up multilingual sites. Let’s review them.
When choosing subdomains for multisite?
If you have already a website and you want to turn it into a multisite, it’s essential to choose the subdomain option and enter the web addresses as below example:
- Https://example.org (English).
- Http://es.example.org (Spanish).
- Http://de.example.org (German).
You can add as many subdomains as you need for displaying your content in different languages on them.
When choosing subdirectory for multisite?
If you are creating multisite to set up a multilingual network from the scratch, we recommend you to choose the subdirectory option and add web addresses as below examples:
- Https://example.org (English).
- Https://example.org/es (Spanish).
- Https://example.org/de (German).
You can also add as many subdirectories as you need in this way to provide their content in different languages.
When choosing domains for multisite?
If you want to have completely different web addresses for your multisite, you need to use the “Domain Mapping plugin” of WordPress, by installing this plugin you can assign different suffixes to your website but manage and control them on one dashboard.
Example of different domains for multisite:
- Https://example.org (English).
- Http://example.es (Spanish).
- Http://example.de (German).
Add new languages to WordPress website
If you are running a multilingual network on WordPress version 4.1 or above, you just need to go to Settings > General > Site Language and install new languages.
Otherwise, you need to configure .po and .mo files in WordPress core files by following the below steps:
- Download PO and MO files for different languages in the below address:
Http://i18n.svn.wordpress.org/.
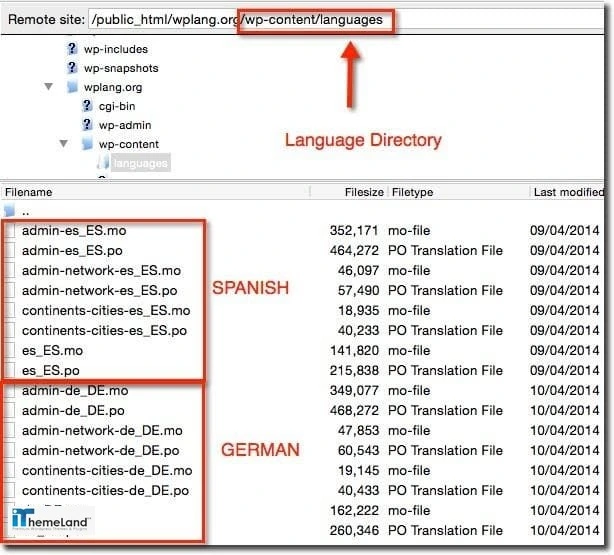
For each language, you need to download 8 necessary files including text strings in WordPress dashboard, text strings in network dashboard, name of continents and cities, and text strings in WordPress front and backend.
For example, the necessary files for the Spanish language include:
- Admin-es_ES.mo.
- Admin-es_ES.po.
- Admin-network-es_ES.mo.
- Admin-network-es_ES.po.
- Continent-cities-es_ES.mo.
- Continent-cities-es_ES.po.
- Es_ES.mo.
- Es_ES.po.
- Create the languages folder inside “wp-content” directory
- Upload .PO and .MO WordPress core language files in the created folder
Step 2: Configure general settings to localize different websites
Once you create a multisite, a new option is added to the WordPress dashboard called “My site”. To configure the general settings of each website. You just need to log in to your WordPress admin panel of one of the sites then click on “My Sites” on the sidebar and navigate to Settings > General in the menu.
As you can see in the below picture, there are some options for localizing each website, including:
- Site title: Fill this field with the preferred language.
- Tagline: Fill this field with the preferred language.
- Administration Email Address: Add an available Email Address.
- Site Language: Set the language in which you want to serve your content to your visitors.
- Timezone: From the dropdown menu, choose a city in the same timezone your main website will be published.
- Date format: Select the format in which to display dates on your site.
- Time format: Specify the format in which to display times on your site.
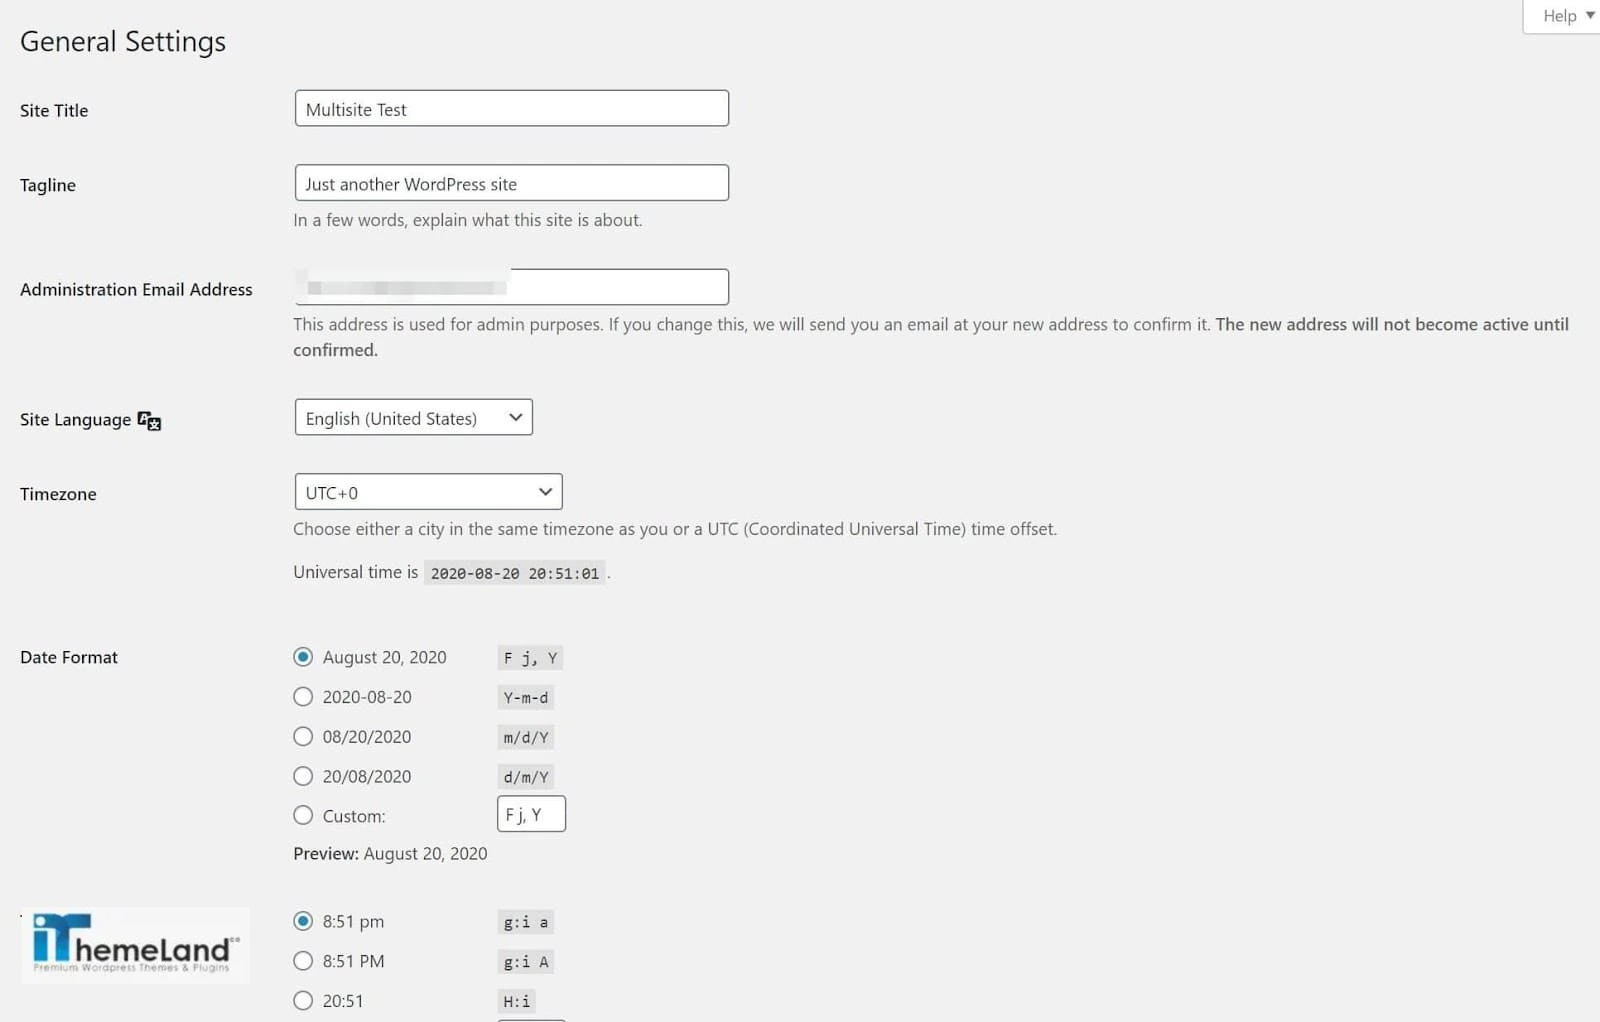
The most important configuration is the Language field which you need to set differently in each website to set up a multilingual network by using WordPress Multisite.
When everything looks good, click on the “Save Changes” button at the bottom of the page.
Continue to configure the general settings of each site in your network one by one.
Step 3: Install theme and plugins with multilingual support
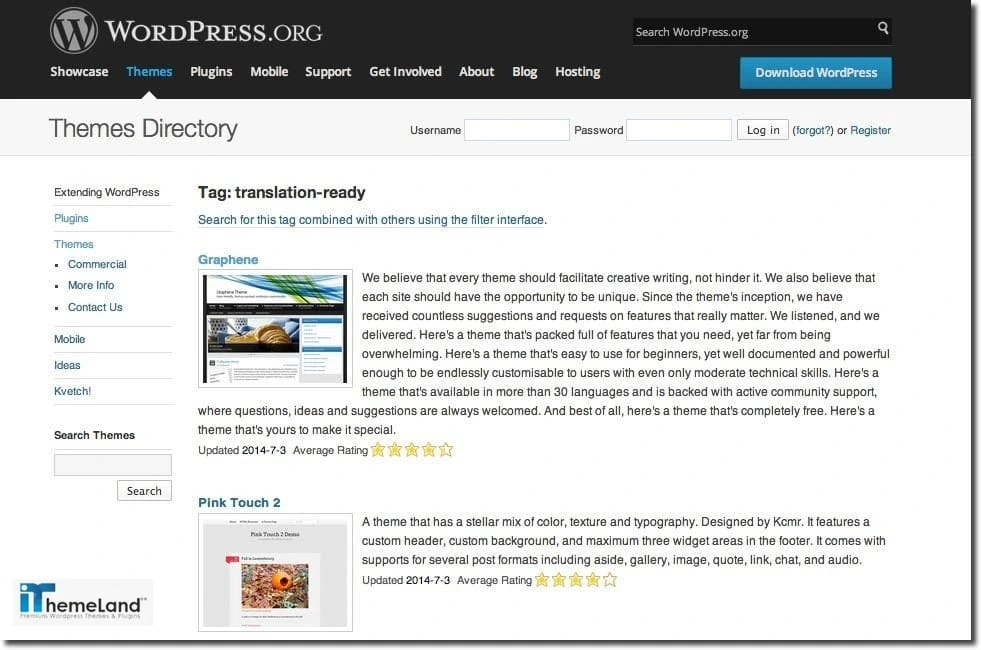
To find a multilingual theme, you can search either in the WordPress directory or in a third-party marketplace. If you have a limited budget, a free theme with translation-ready options available in WordPress respiratory is an ideal solution.
However, if you are looking for a more professional one, premium themes offer multilingual support with a lot of more incredible features that can meet all of your requirements.
The best marketplaces to download multilingual themes
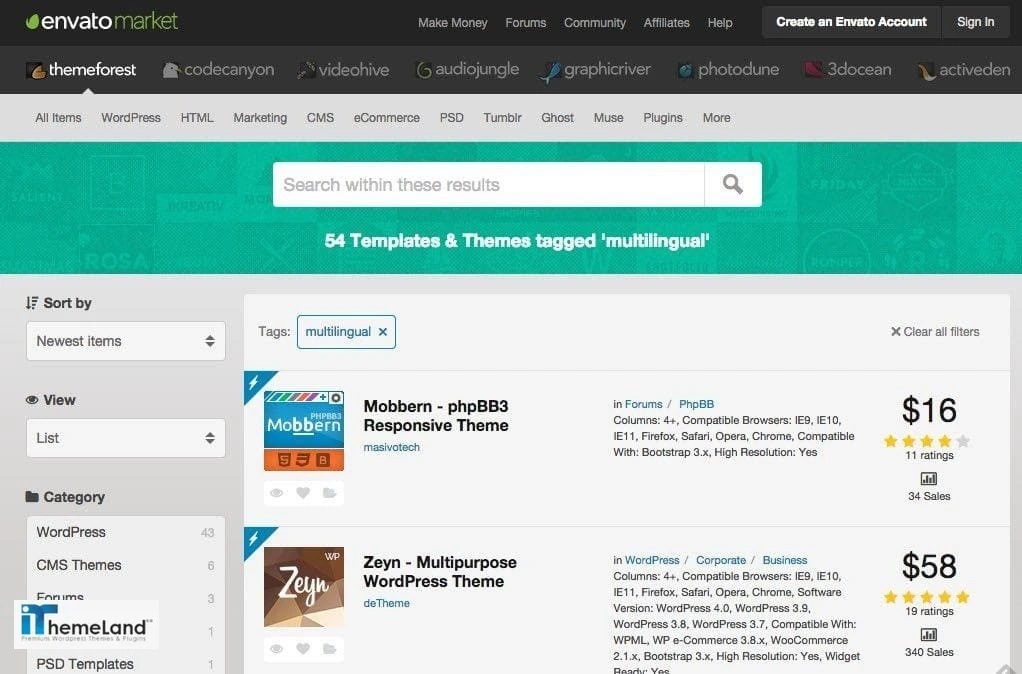
Themeforest
In Themeforest, you can easily find numerous multilingual themes which are ready to be translated with WPML or Poedit or have a built-in solution for automatic translation to the most popular languages.
Elegant Themes
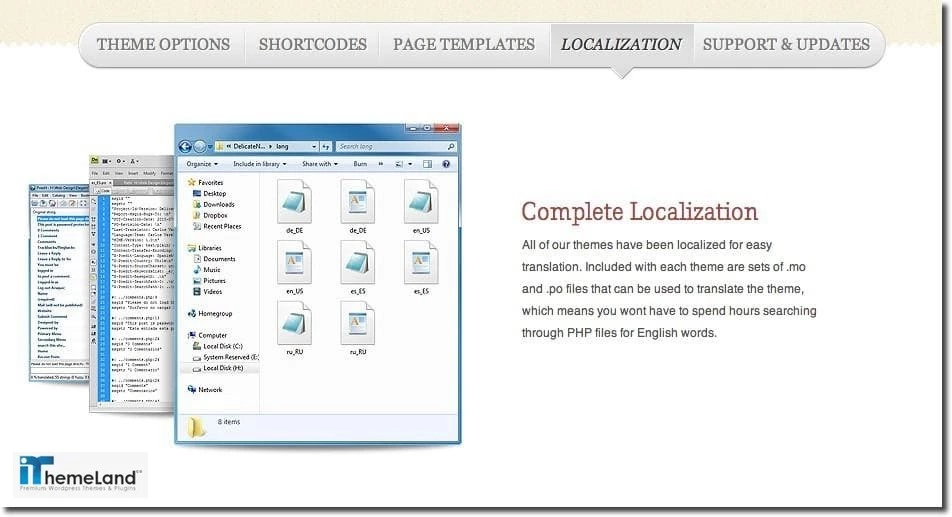
All themes available in Elegant Themes have been localized for easy translation.MO and.PO files that can be used to translate the theme.
Woothemes
Woothemes offers a complete package including a language file for easy WordPress theme translations into your language.
Diythemes
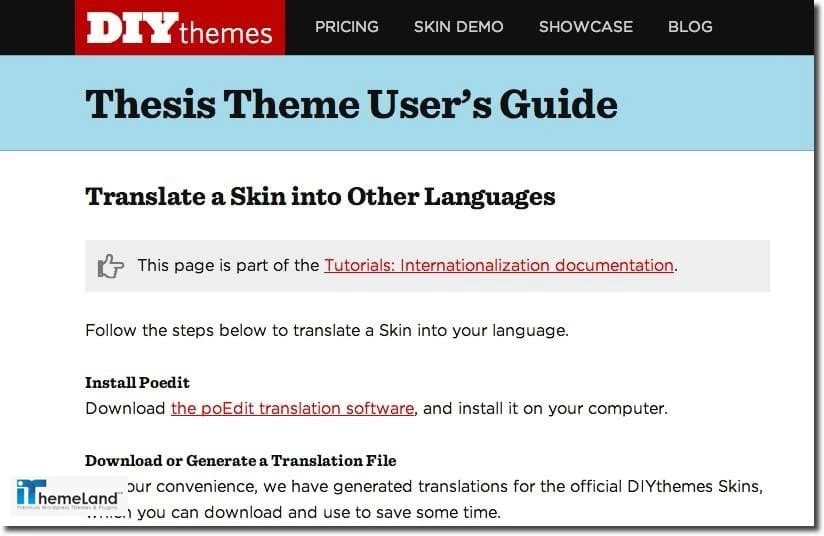
Thesis themes available in Diythemes marketplace are compatible with multilingual sites and you can find a complete guide about how to Translate Thesis (or a skin) into Other Languages in the below links:
- Http://diythemes.com/thesis/rtfm/tutorials/translate.
- Http://diythemes.com/thesis/rtfm/tutorials/translate-skin.
The best multilanguage plugins
If you have decided to set up WordPress multisite for your multilingual sites, it is better to find the plugins that support multisite and multiple languages and share them on all of your websites. Otherwise, you need to find different plugins that support the language you are using in each website and install them individually on them.
Some of the most important plugins of WordPress with multilingual support are:
- WooCommerce.
Step 4: Add and import your content
First of all, you need to add the content on the first website. It’s better to get everything ready on the home page, landing page, blogs, About us, etc. In your local language.
Then, you need to import this content to other websites to use WordPress multisite to create a multilingual network by following below steps:
- Go to your primary site’s dashboard.
- Navigate to Tools > Export.
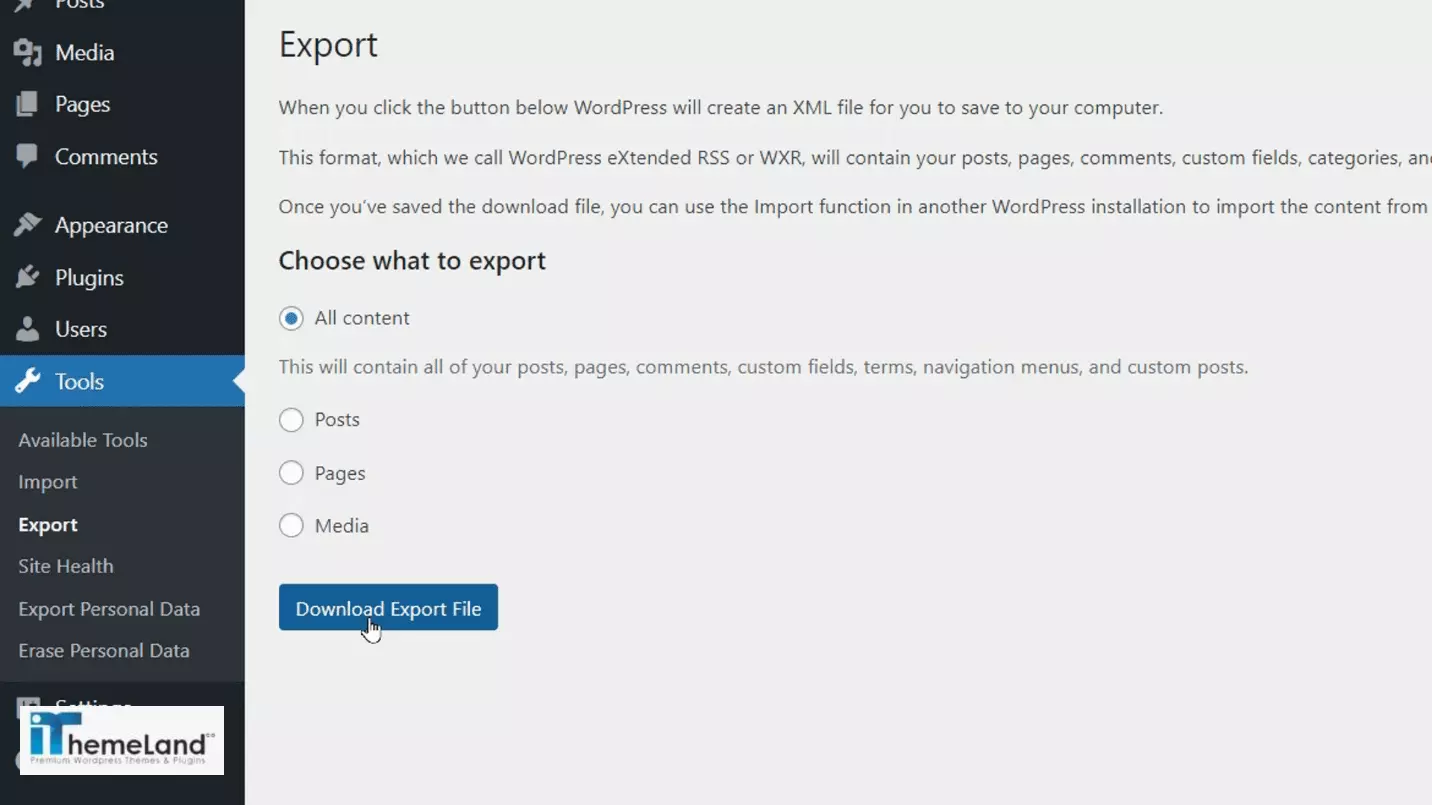
- Download a .xml file of your content.
- Switch to one of your other sites.
- Navigate to Tools > Import > WordPress.
- Click on Install.
- Click on Run Importer.
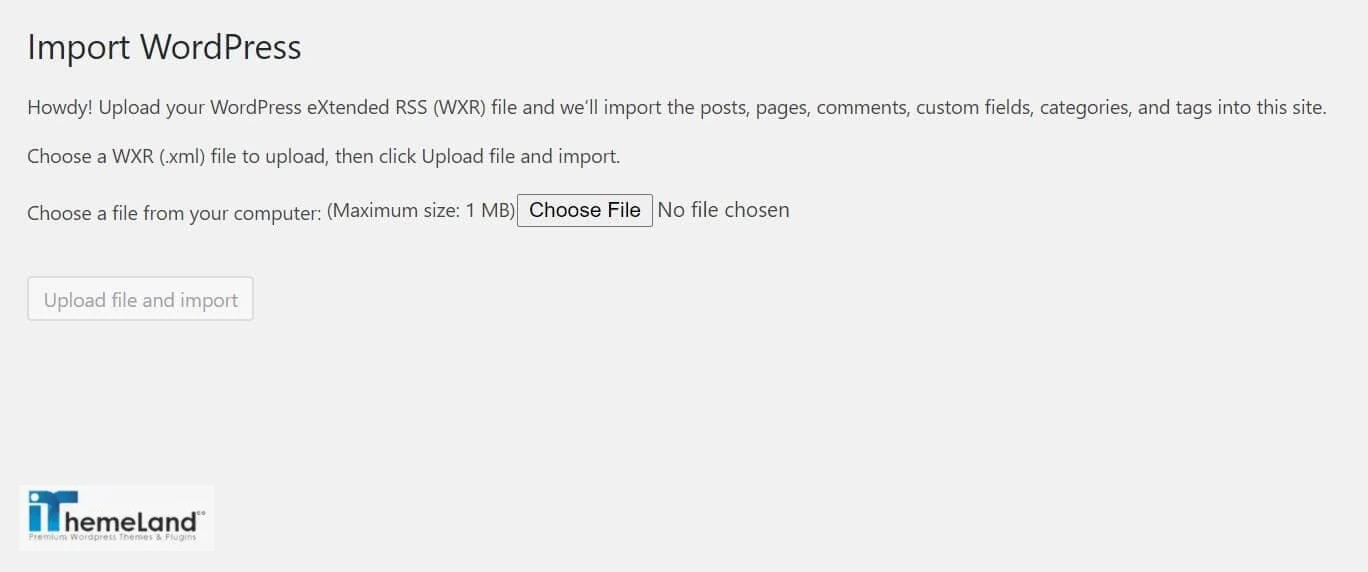
- Select “Choose File”.
- Upload the .xml file you exported.
- Click on Upload file and import.
- Follow any prompts you receive.
When the import process is finished, all content of your primary site is now ready to be used in the second site.
Repeat the import process for each website to quickly populate them all. furtheremore, If you need a some sort of plugins to mange your product store, click on WooCommerce Product Table to find the best that meets your need.
The best WordPress plugins for importing file to multisite
There are also some useful plugins for importing and colonizing your website, including:
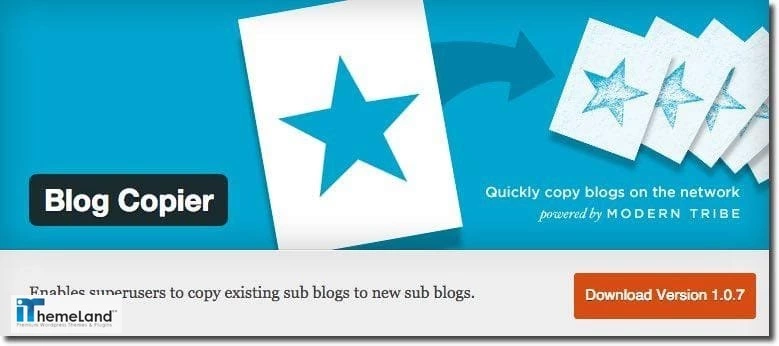

Step 4: Translate Your Content
Now all content you need is ready on each side, that’s time for translating them into the language you want to display to your visitors.
There are different methods to translate the content:
- Start to translate the content of web pages one by one, manually which has no cost for you.
- Hire a third party to translate the content for you then import it to your website which is the easiest way but costs more than other ways.
- Use some useful plugins which is applicable just for some popular languages.
Either way, you choose, we recommend you to ask a professional or a native to check all content especially menus, products, widgets, etc. Once-over before publishing the site for local visitors.
The best Free plugins for translating your website
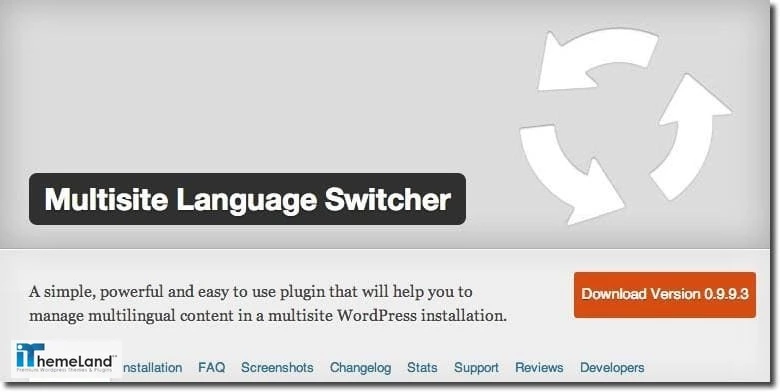
The best Premium plugins for translating your website
- Genesis Translations plugin
As one of the best premium themes supports multilingual networks, Genesis Translations plugin enables you to:
Translate your content automatically into the below languages by Genesis Framework:
- Spanish,
- French,
- German,
- Russian,
- Dutch,
- Portuguese,
- Romanian,
- etc.
Avoid uploading and uploading .MO and .PO files.

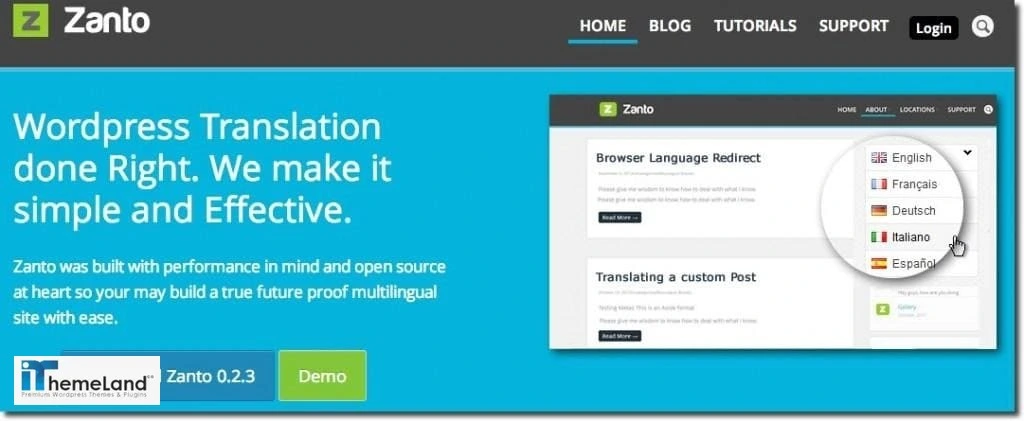
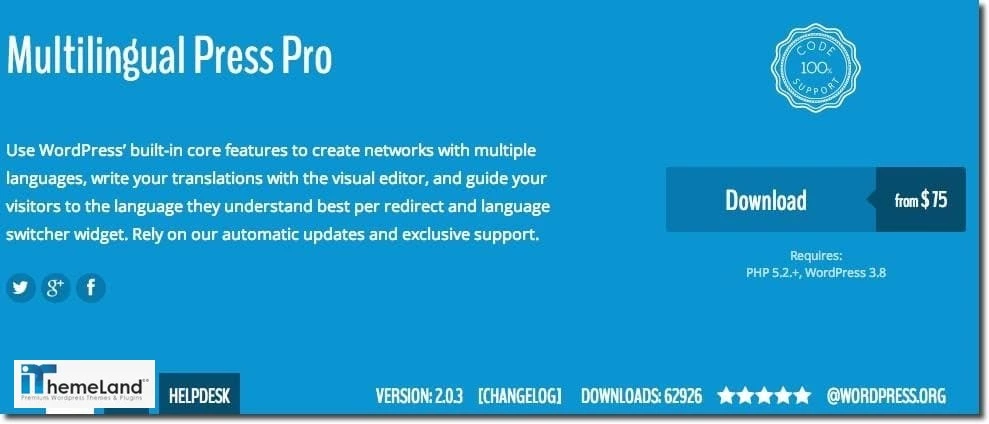
Multilingual Press Pro. If you buy the pro-version of this plugin you’ll be able to duplicate sites.
Which content must be translated for multisite?
There is no need to translate all details of your content in the main language to other languages for multisite.
In the following guide, you can find which parts are important to be translated into local languages:
Post, and custom posts
- Title.
- Slug.
- Content.
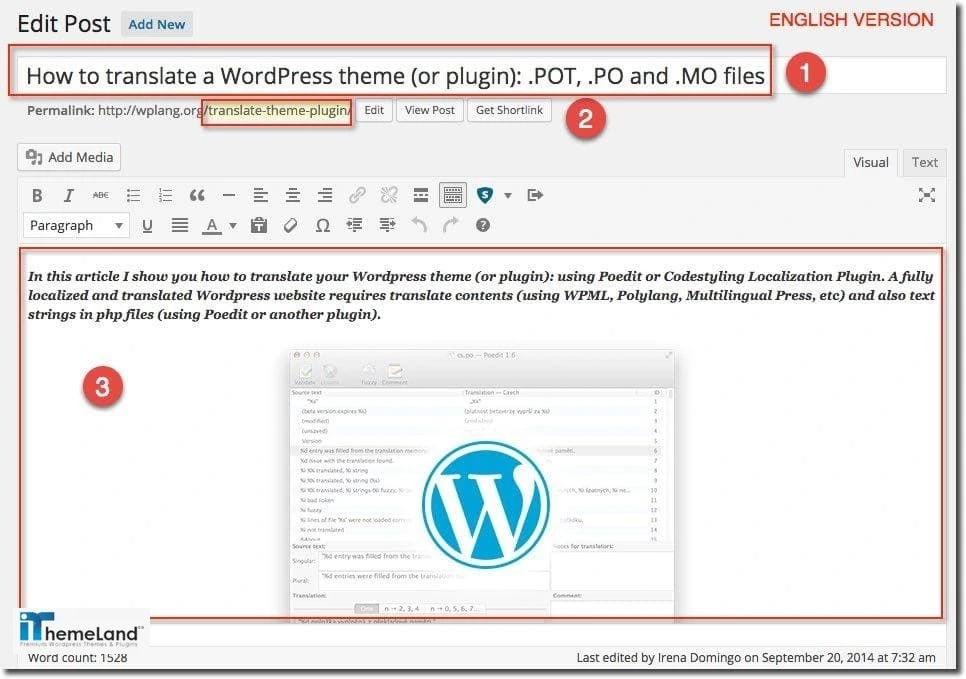
An example of Post translation:
- text images.
- image title.
- alt text.
- caption.
- image description.
- attachments (PDF files for example).
- Error 404 page.
- comments if applicable.
Products
- Title.
- Description.
- Attributes.
- Variations.
- Prices in local unit.
- Taxonomies.
- Category name.
- Category slug.
- Category description.
- Category archive settings: headline and intro text.

Menus, Widgets, Sidebars
- Widget title.
- Widget content.
- Widget button.
- Widget of Author bio.
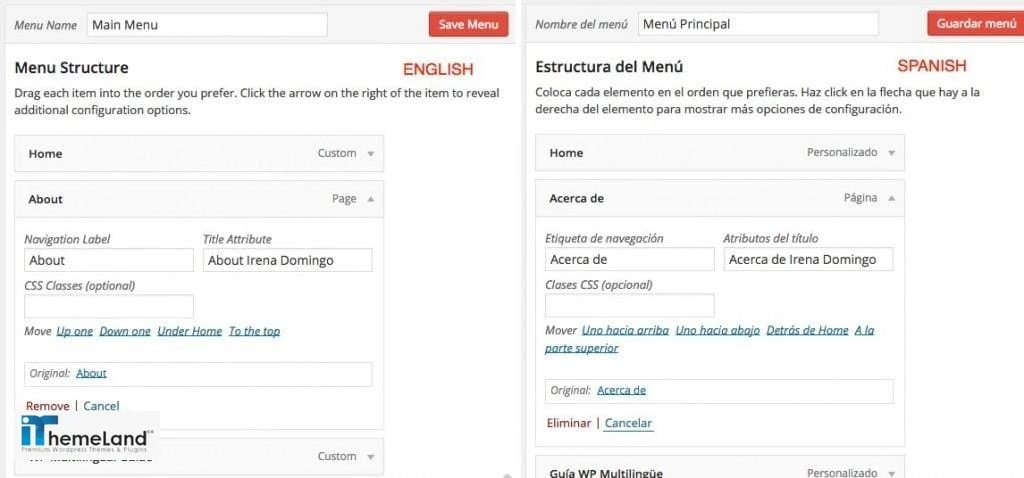
- Navigation label of menu.
- Title Attribute of menu items.
Contact forms
- Visible texts.
- Validation messages.
- Error messages.
- Button text.
Sliders
- Slider text.
- Images.
- Links to pages or posts.
SEO options
- Title and meta description of homepage, posts and pages.
Step 5: Set the Geographic Targets of each website on Search Engines
The final step in setting up WordPress multisite for multilingual websites is to instruct search engines to serve each website to its related geographical location or country.
If you choose different domains with country-specific suffixes such as “example.de” for your multisite, the hosting provider will do everything for you. However, if your multisite has been created as subdomain, Subdirectory or with a general suffix such as .com, .org, etc. You have to specify to which country it should be displayed in the search results.
To set the geographical location based on the searching languages or countries, you have to use the webmaster tools of each search engine. For google, you can find the settings on Webmaster Tools to set the configurations.
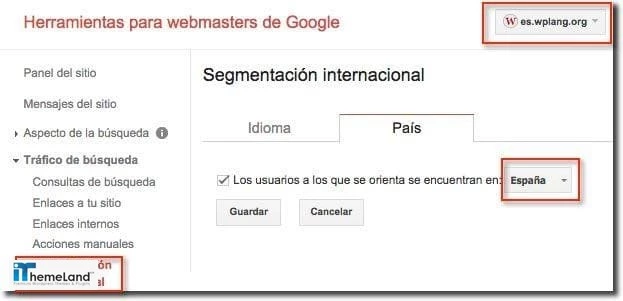
By finishing this task, you have successfully set up WordPress multisite for a multilingual network.
Conclusion
Setting up WordPress multisite for multilingual sites can significantly improve the user experiences, their engagement and conversion rates by serving up localized versions of your website to users from all over the world.
In this post, we provided the features, advantages and disadvantages of setting up WordPress multisite for a multilingual network. Then we introduce the step-by-step guide for creating multisite and assigning multiple languages to them.
FAQ
How do I make my WordPress site multilingual?
To create a multilingual site, you can easily set up a multisite in WordPress. Then build up as many subdomains or subdirectories as you need and translate their content into any languages you need.
How do I combine multiple WordPress sites in one multisite?
To install WordPress Multisite you can either add a code on your website via FTP or use your hosting panel such as cPanel options.






One thought on “How to Set Up WordPress Multisite for Multilingual Sites”
Wow, fantastic blog layout! How lengthy have you been running a blog for? you made running a blog glance easy. The overall look of your site is great, as smartly as the content material!